Please note: This website contains affiliate links. As an Amazon Associate, we earn from qualifying purchases at no additional cost to you.
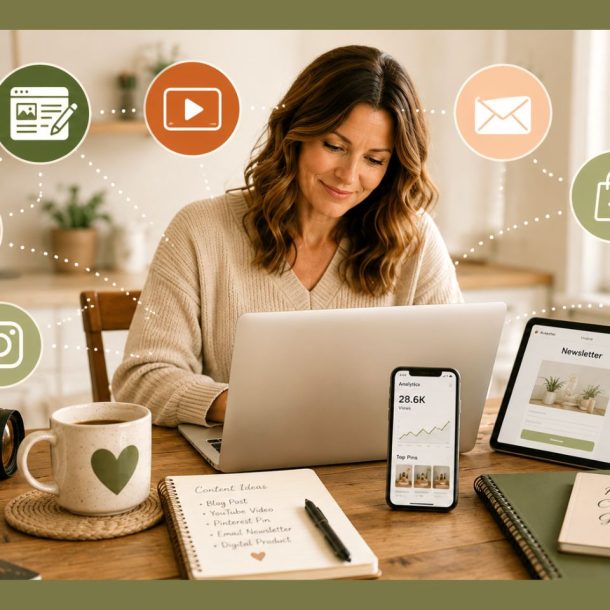
Picture this: You spent hours tweaking colors and fonts to create the perfect logo for your new online business. You feel incredibly proud.
But the moment you upload it to your website header, it looks like a blurry, fuzzy mess. Then you try to upload it to a print-on-demand site to make a custom t-shirt, and a giant red error box pops up: “File resolution too low.”
If this has happened to you, don’t panic. You haven’t broken anything, and your logo isn’t ruined.
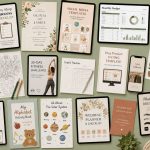
The secret that professional designers know is that a logo is never just one single image file. To run a successful online business, you need a “kit” of different shapes, sizes, and file types. This guide strips away the tech jargon and breaks down exactly what you need — so your brand looks crisp, clean, and professional everywhere from a tiny phone screen to a printed t-shirt.
Two Terms You Need to Know First
Before we look at sizes, let’s quickly define two words you’ll see everywhere online when uploading or downloading images.
Pixels (px)
Think of pixels as tiny, microscopic dots of color that fit together like a mosaic to create a digital image. When we measure size on a computer or phone, we use pixels (like 500 x 500 px). The more pixels an image has, the sharper it looks.
Resolution
This simply means the “crispness” of your image. A low-resolution image has very few pixels — stretch it out and it looks blurry and blocky. A high-resolution image has thousands of pixels packed tightly together, meaning it stays sharp and clear no matter what size you use it at.
STEP 01 | Getting the Right Layouts for Your New Logo
Your logo needs to be a shapeshifter. A design that looks beautiful stretched across the top of a website will get completely chopped off if you force it into a tiny circular Instagram profile picture. You need to save your logo in three different layouts.
1. The Horizontal Logo (Your Primary Version)
This is a long, wide layout where your brand icon or symbol sits right next to your business name.
- Best used for: The top of your website (the header) and your email signature.
2. The Stacked Logo (Your Secondary Version)
This is a more compact, square layout where your brand icon sits directly above your business name.
- Best used for: Business cards, thank-you notes, and apparel like hoodies or t-shirts.
3. The Submark (Your Icon Only)
This is your logo stripped down to its bare essentials. All text is completely removed, leaving only your signature symbol, icon, or initials.
- Best used for: Social media profile pictures, Pinterest avatars, and your website favicon (the tiny icon on your browser tab).
PRO TIP: It’s also not necessary, but you may need a black and white version of your logo on occasion. While you are creating all of the other versions, it wouldn’t hurt to add this to the list!
STEP 02 | The 3 File Formats You Need
When you download a logo file, the name ends in a dot followed by three letters — like logo.png or logo.jpg.
These letters tell your computer how to handle the image. You need your logo in three specific formats.
⚠️ Heads up before you start: Transparent PNG and SVG exports require Canva Pro. If you’re on the free plan, download as a standard PNG and use a free tool like vectorizer.ai to convert it for printing. This is an important limitation to know before you get started.
1. Transparent PNG
What it is: A digital image with no background color — the background is invisible, making the logo act like a clear sticker.
Why you need it: If your website has a colored background (like soft pink or cream) or you want to put your logo on another image, a transparent PNG lets your logo sit cleanly on top. Without it, your logo will appear inside an ugly white box.
Here are two examples:
2. High-Res JPEG (or JPG)
What it is: A standard digital photo file that always includes a flat background color (usually white or black). JPEGs are compressed, meaning small file sizes that load quickly.
Why you need it: Because they load so fast, JPEGs are ideal for social media profile pictures.
3. Vector Files (SVG or PDF)
What it is: Regular images use pixels (dots) to draw a picture. Vector files use mathematical formulas to draw lines and curves instead.
Why you need it: Because it uses math instead of dots, a vector file can be shrunk to the size of a postage stamp or stretched to a billboard — and it will never get blurry. This format is often required for printing your logo on physical merchandise like t-shirts, tote bags, or mugs.
Quick Note: Many times you can use a high resolution PNG file instead, so if you don’t have a vector version of your logo right away, don’t sweat it!
STEP 03 | The Size & Format Cheat Sheet
Now that you have the right file types and different logo variations (i.e. square, horizontal, etc), now we have to make sure all of your logos are sized correctly, so you can just pop them in where ever you need them.
Here is exactly what size and file type you need based on where your logo is going.
Website and Screen Sizes
| Where It Goes | Layout | Size | Format |
|---|---|---|---|
| Website Header | Horizontal | 400 x 100 px | Transparent PNG |
| Social Media Profiles (Instagram, Pinterest, TikTok) | Icon Only | 500 x 500 px | High-Res JPEG |
| Website Favicon (tiny browser tab icon) | Icon Only | 32 x 32 px | PNG |
Printing and Merchandise Sizes
| Where It Goes | Layout | Size | Format |
|---|---|---|---|
| T-Shirts & Apparel | Stacked or Icon Only | 4500 x 5400 px | Vector or Transparent PNG |
| Mugs & Small Merch | Stacked or Horizontal | 2700 x 900 px | Transparent PNG or SVG |
STEP 04 | How to Build Your Brand Kit in Canva (Step-by-Step)
Now that you know what files you need, how do you actually make them without paying a graphic designer? The easiest free tool for beginners is Canva. Here’s a simple workflow to create your entire brand kit at once.
Step 1: Start With a Large Canvas
On the Canva homepage, click “Custom Size” and create a canvas that is 3000 x 3000 pixels. It is always easier to shrink a large, high-quality logo later than to try making a small logo bigger.
Step 2: Create a 3-Page Document
Instead of creating separate projects for every logo shape, use Canva’s “Add Page” button to keep everything in one place.
- Page 1: Arrange your design as a Horizontal Logo (icon beside your name).
- Page 2: Arrange your design as a Stacked Logo (icon above your name).
- Page 3: Delete the text and leave only your Icon/Submark.
Step 3: Download Each Page With the Right Settings
Click “Share” then “Download” in the top right corner. Canva lets you choose settings for each page individually. Follow this order:
- Page 1 (Website Header Logo): Select PNG and check the “Transparent Background” box. Save this file.
- Page 2 (Print Logo for Merch): Select SVG or PDF Print. This is your high-quality vector file for t-shirts and tote bags.
- Page 3 (Social Media Profile Picture): Select JPG. This format loads fast on all platforms.
💡 Free plan tip: Canva Pro is required to export transparent PNGs and SVG files. If you’re on the free plan, download as a standard PNG and run it through vectorizer.ai (free) to convert it into a print-ready vector file.
Your Complete Logo Kit Checklist
When you’re done, you should have 9 files total — 3 layouts in 3 formats each. Use this checklist to make sure you have everything before you launch.
- ☐ Horizontal Logo — Transparent PNG (website header)
- ☐ Horizontal Logo — JPEG (email signature)
- ☐ Horizontal Logo — SVG or PDF (print / merch)
- ☐ Stacked Logo — Transparent PNG (business cards, apparel)
- ☐ Stacked Logo — JPEG (general use)
- ☐ Stacked Logo — SVG or PDF (print / merch)
- ☐ Submark / Icon Only — Transparent PNG (favicon, watermarks)
- ☐ Submark / Icon Only — JPEG, 500x500px (social media profiles)
- ☐ Submark / Icon Only — SVG or PDF (print / merch)
Your 3 Next Steps… Do this ASAP!
Building a brand identity takes a little patience, but setting up your logo kit correctly from day one will save you dozens of technical headaches down the road. Here’s what to do next:
- Create a dedicated “Brand Kit” folder in Google Drive or Dropbox. Label your files clearly (e.g., “logo-horizontal-transparent.png”) so you can find them instantly.
- Upload your submark to Pinterest, Instagram, and TikTok right now while you have the files open. Profile pictures are the first thing people see.
- Install your horizontal logo on your website header using the transparent PNG. This is the single biggest visual upgrade you can make to your site today.
Your store is about to look highly professional, trustworthy, and ready for business. Now go build that brand kit!
Please note: This website contains affiliate links. As an Amazon Associate, we earn from qualifying purchases at no additional cost to you.